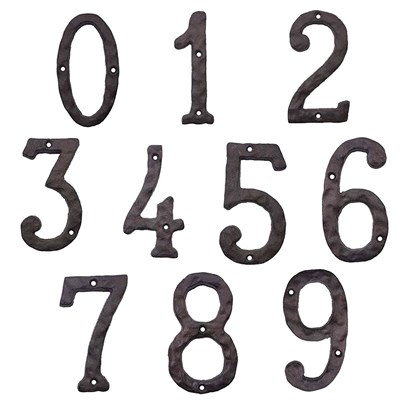
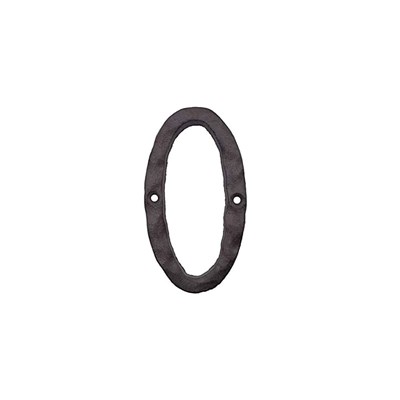
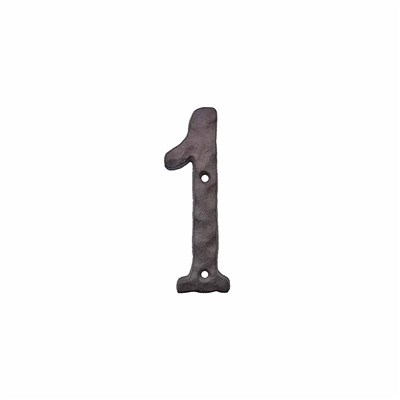
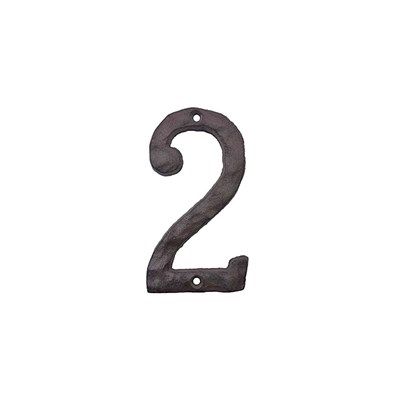
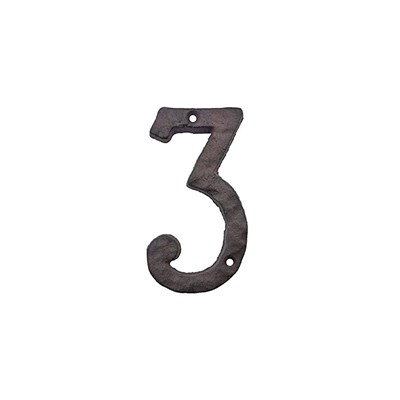
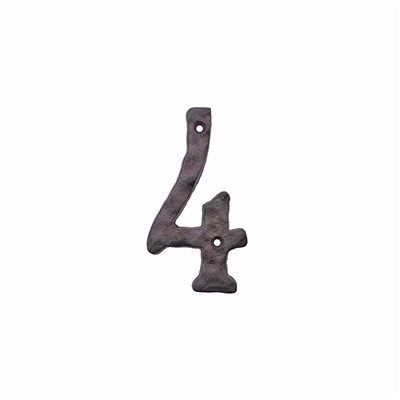
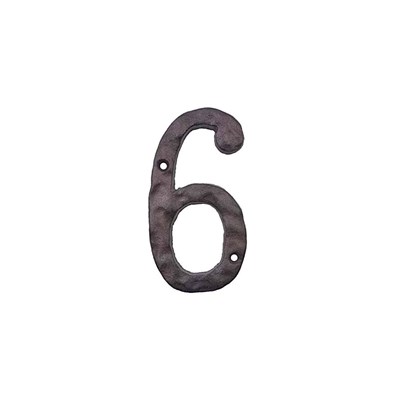
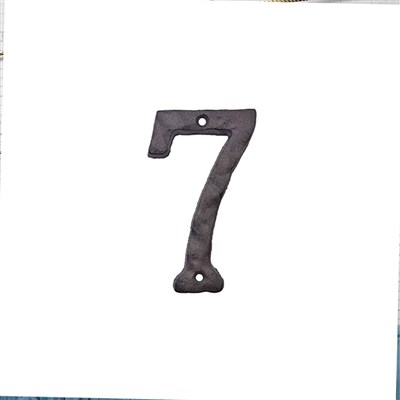
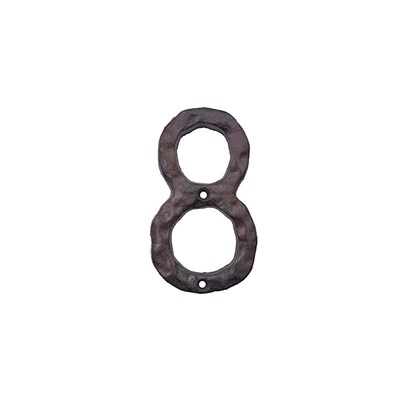
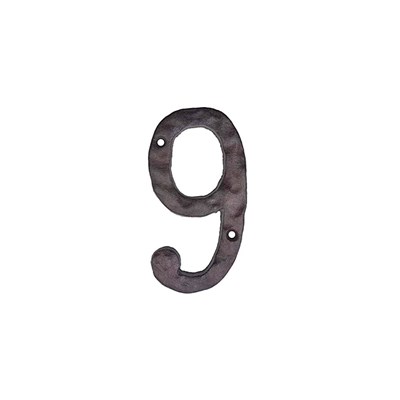
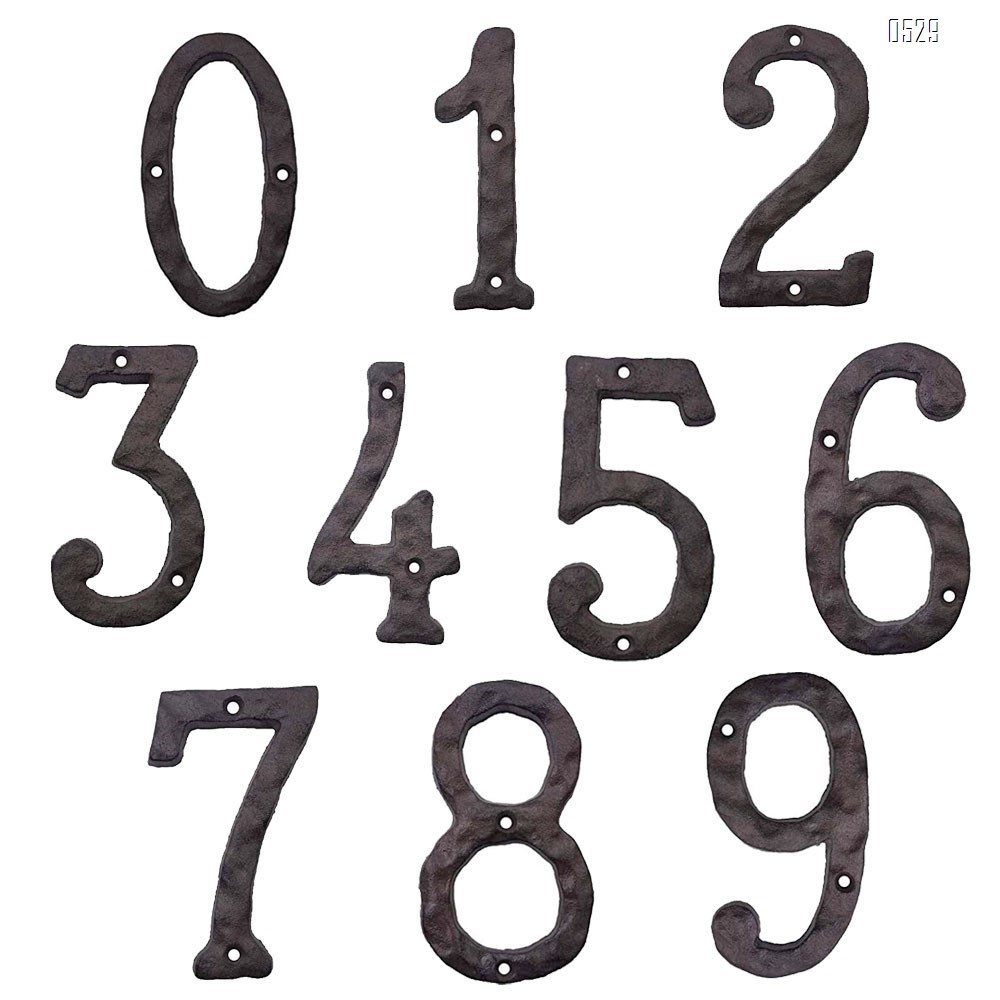
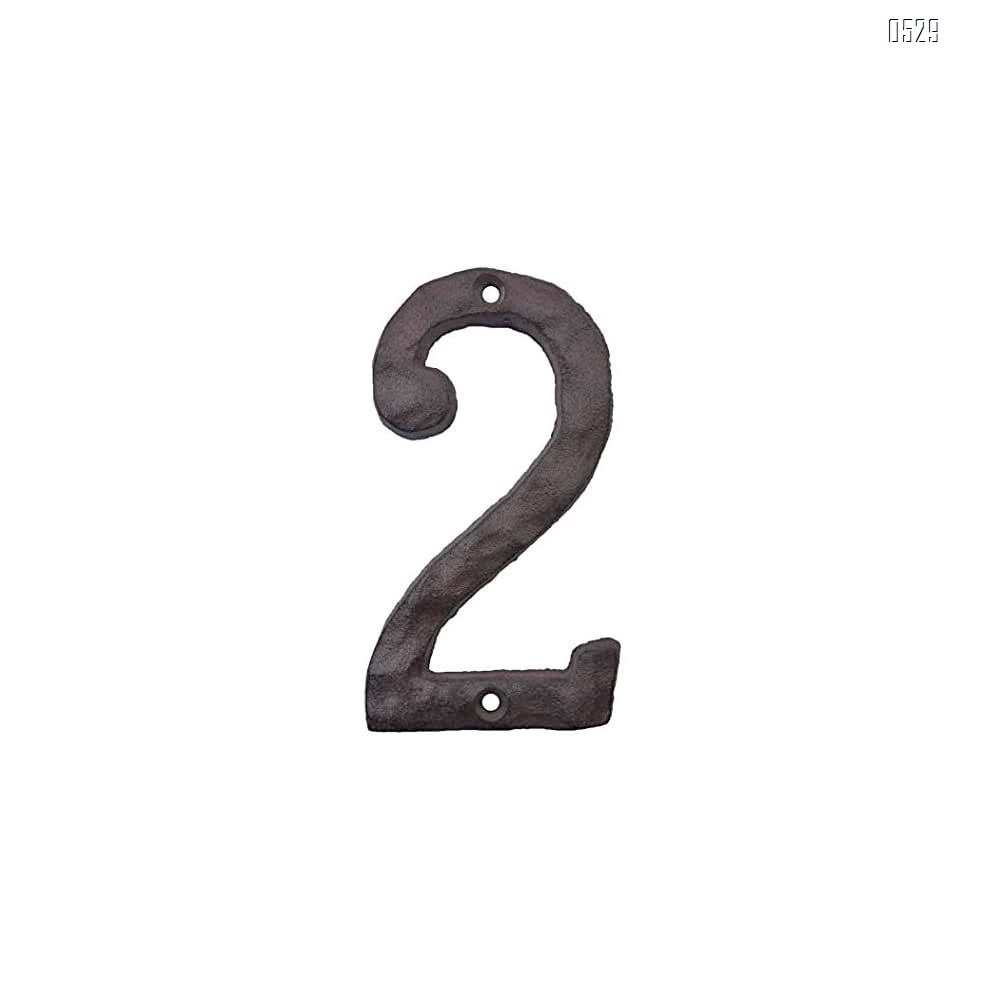
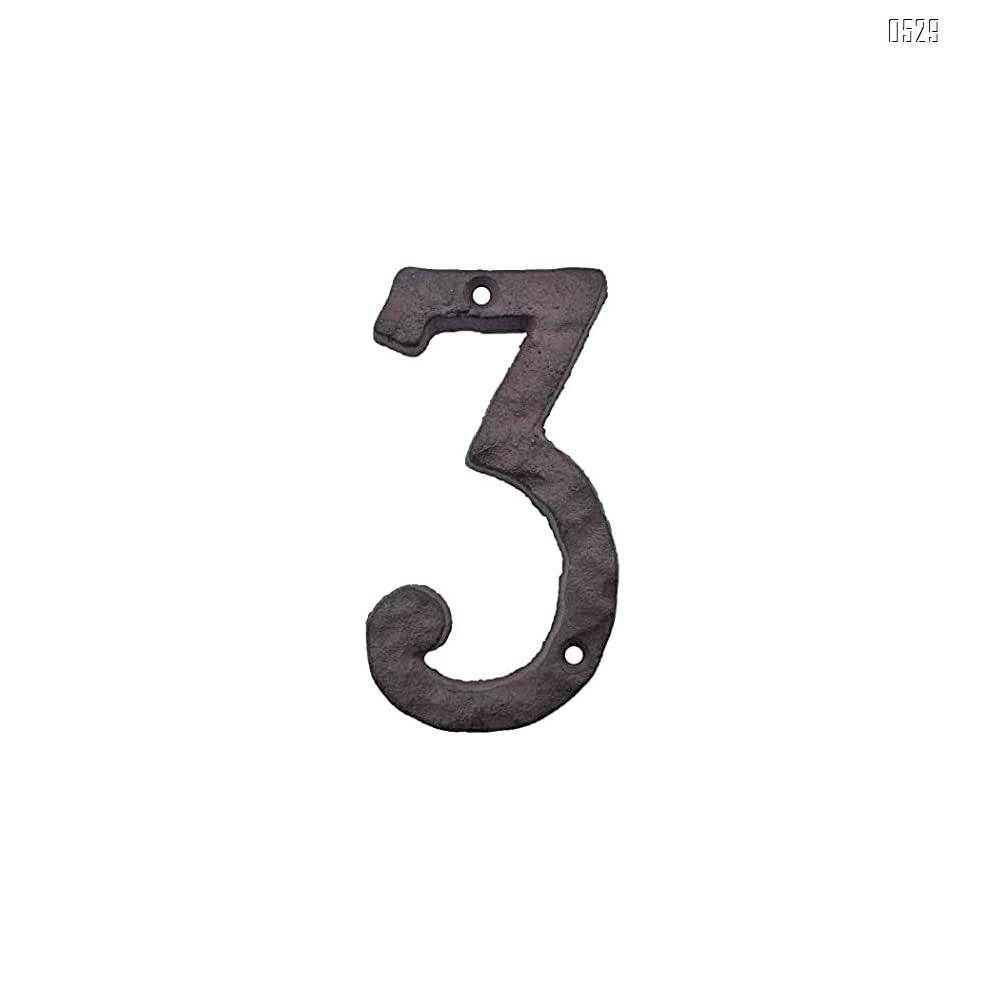
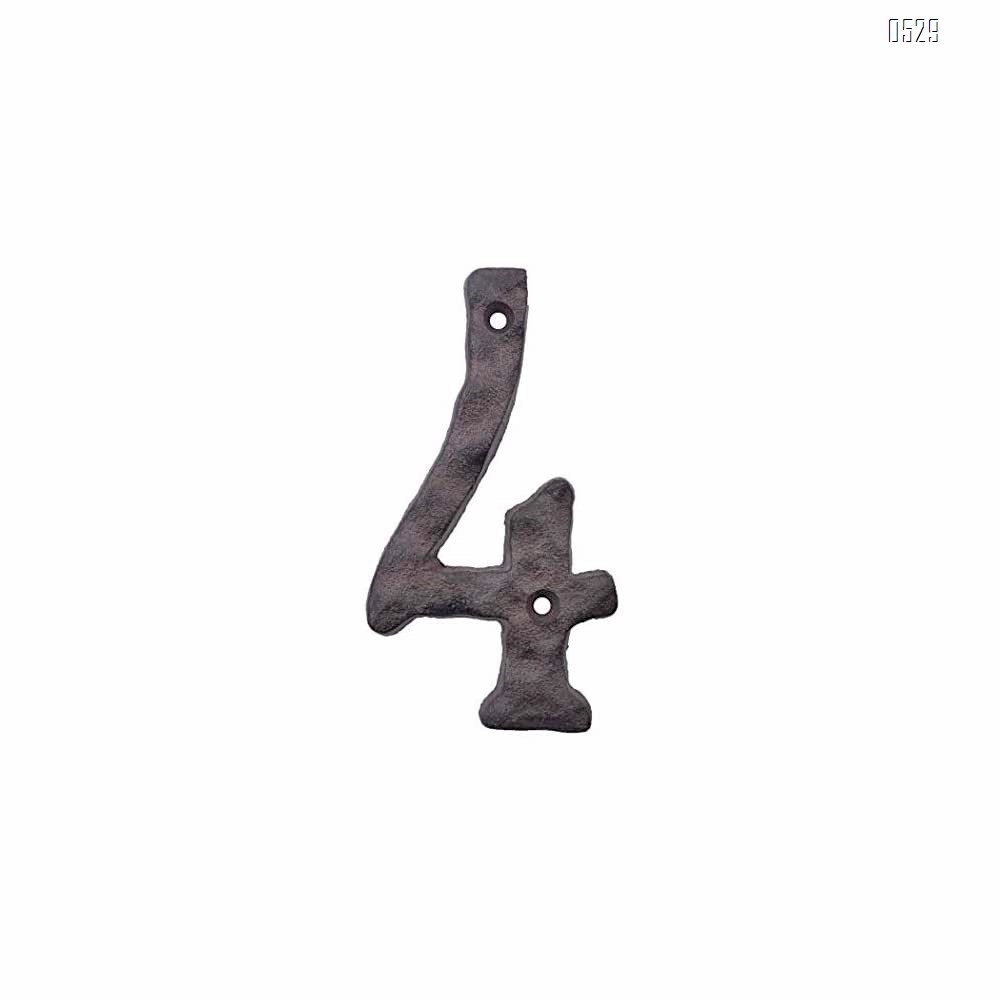
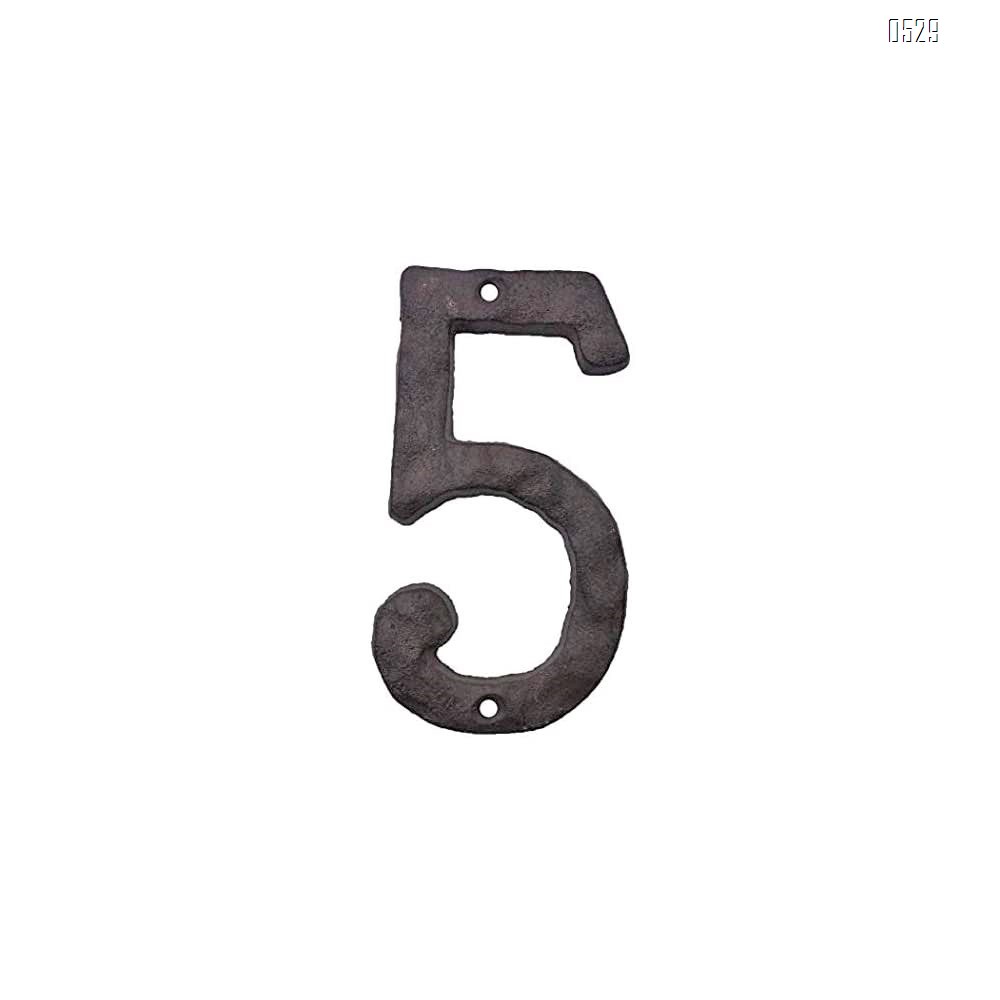
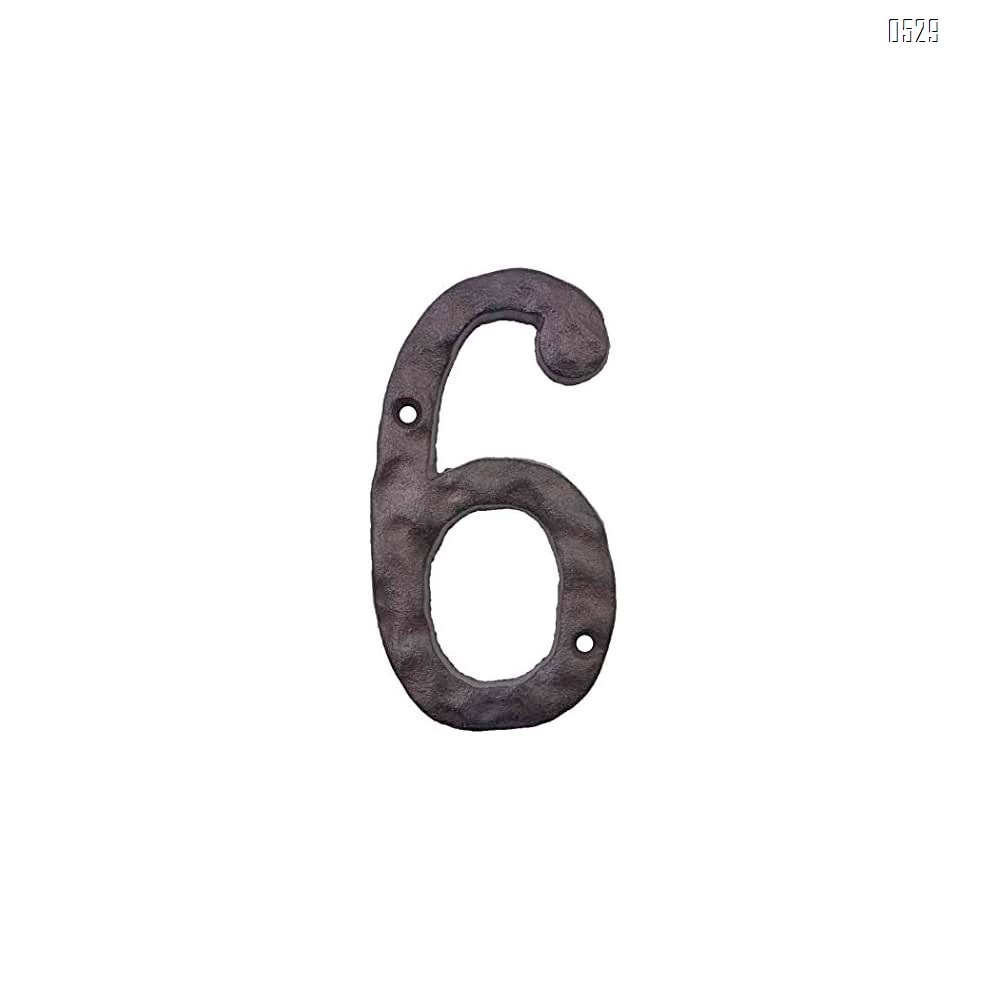
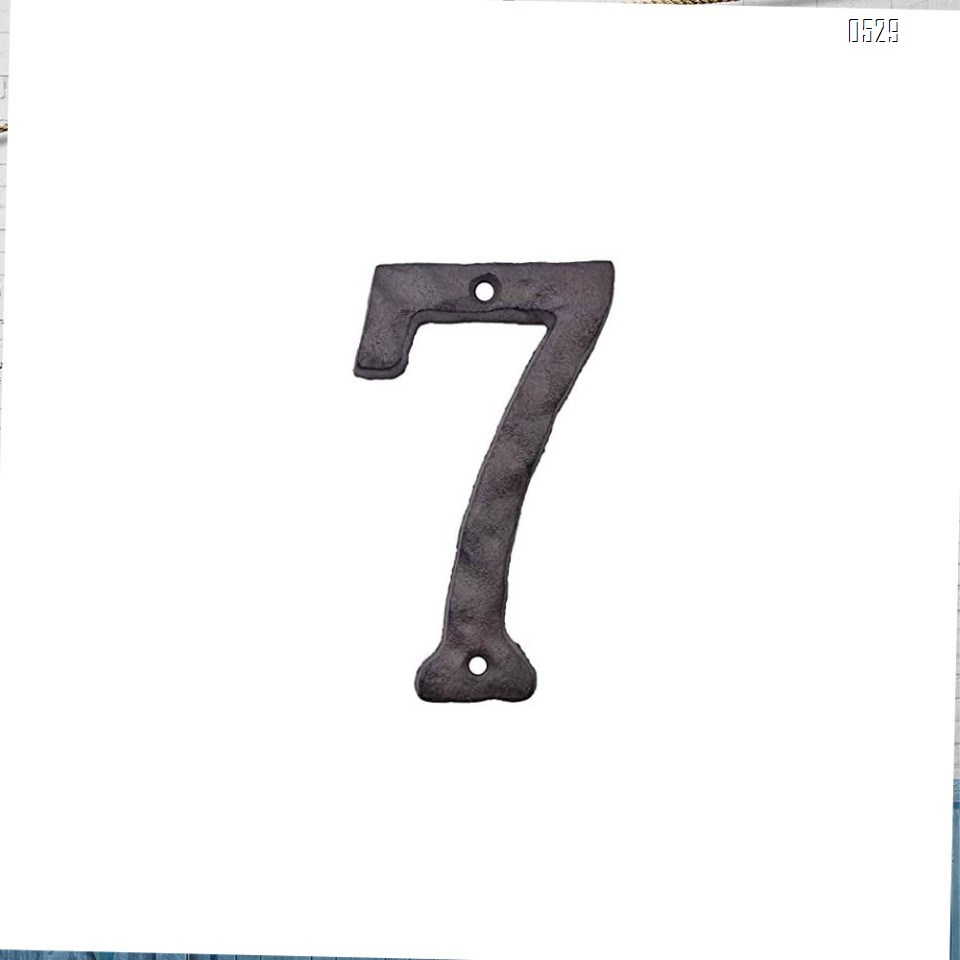
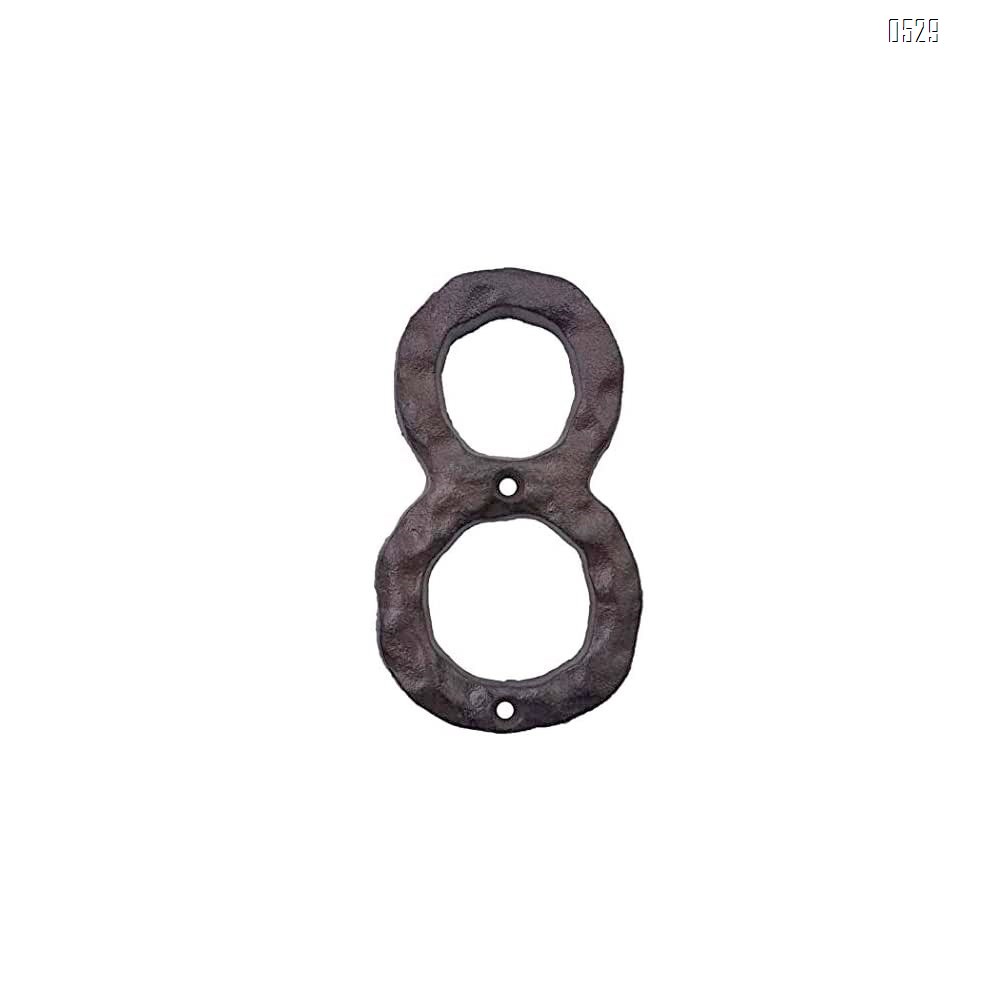
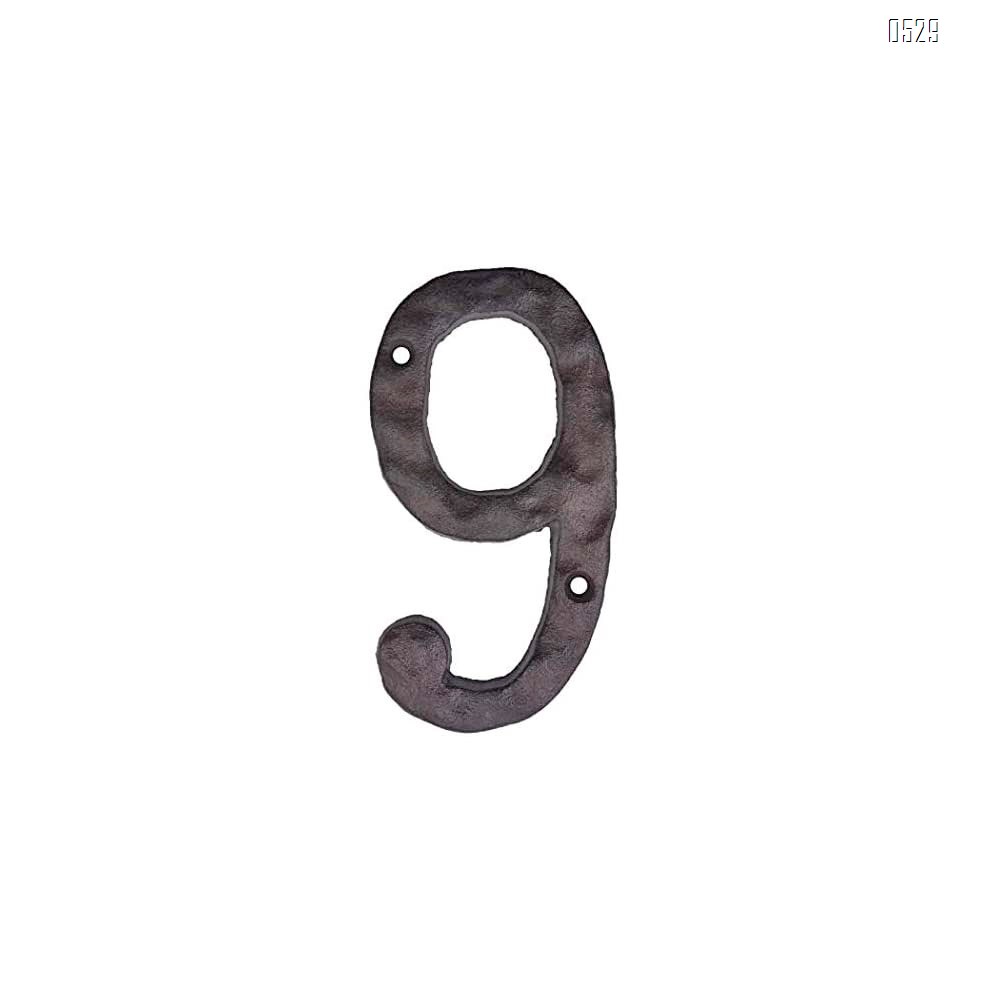
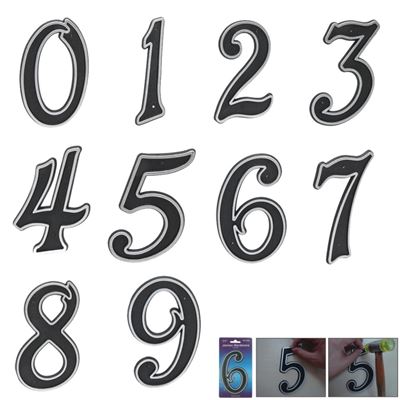
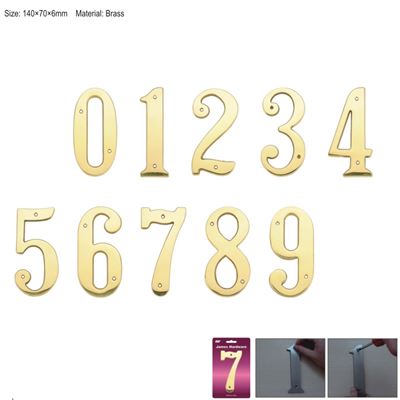
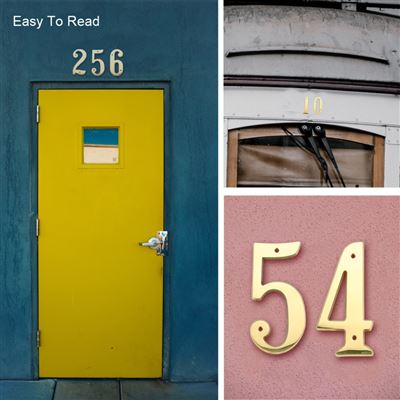
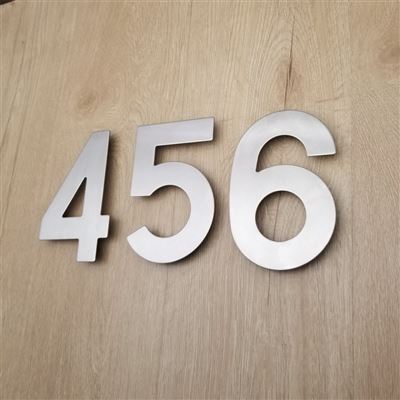
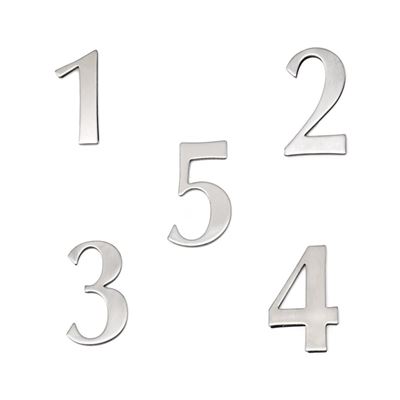
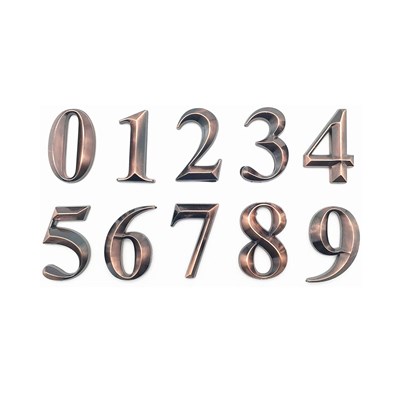
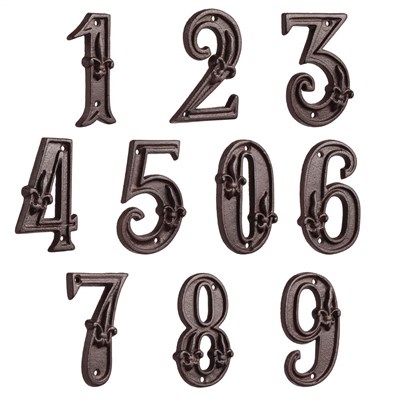
House Numbers- 3 Inch Innovative Wrought Iron Numbers- Vintage Nail on Die Cast Mailbox Numbers
Min. Order: 10 PCS
$1.310 PCS+
$1.230 PCS+
Quick Details
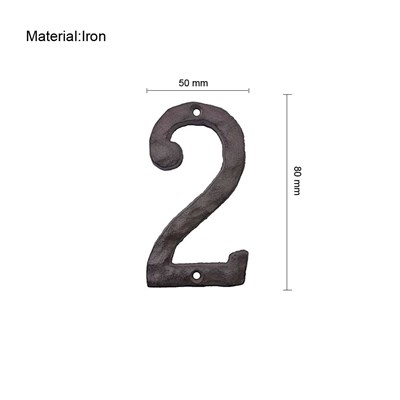
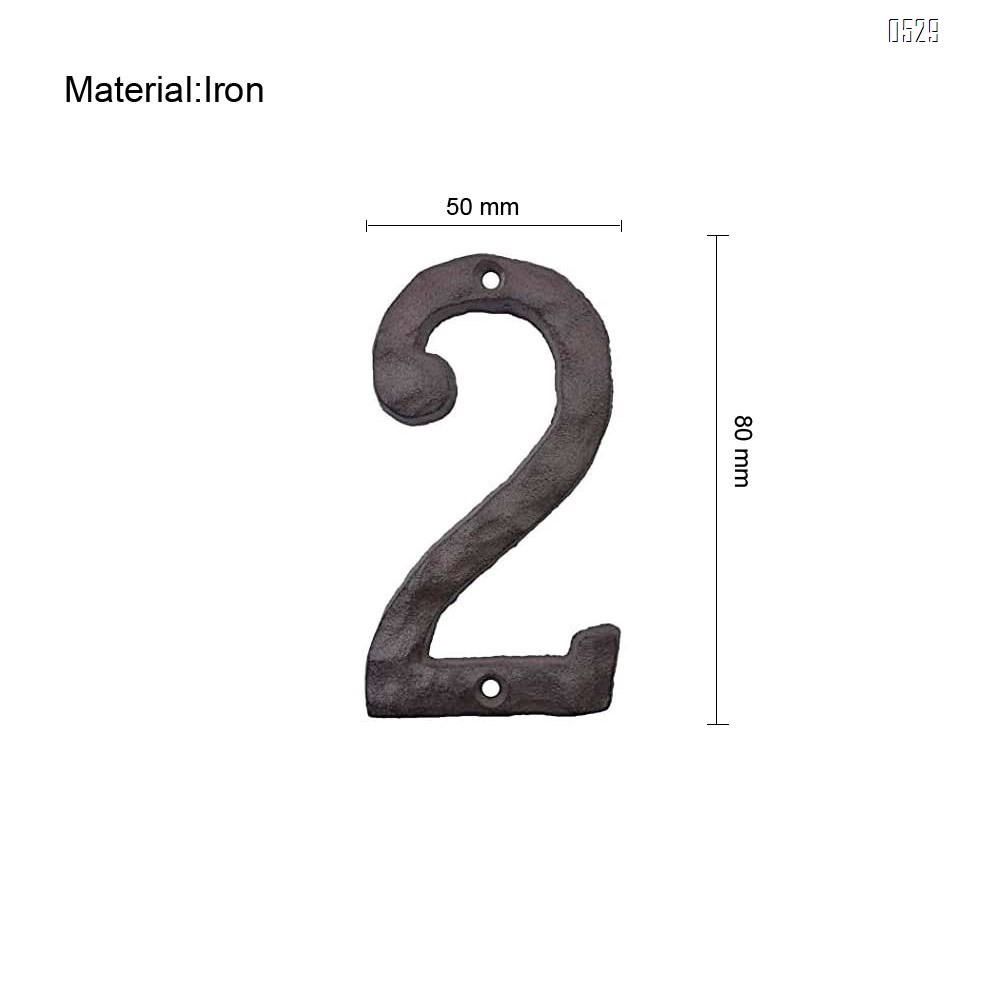
- Material:Iron
- gross weight:90.00 g
Item details
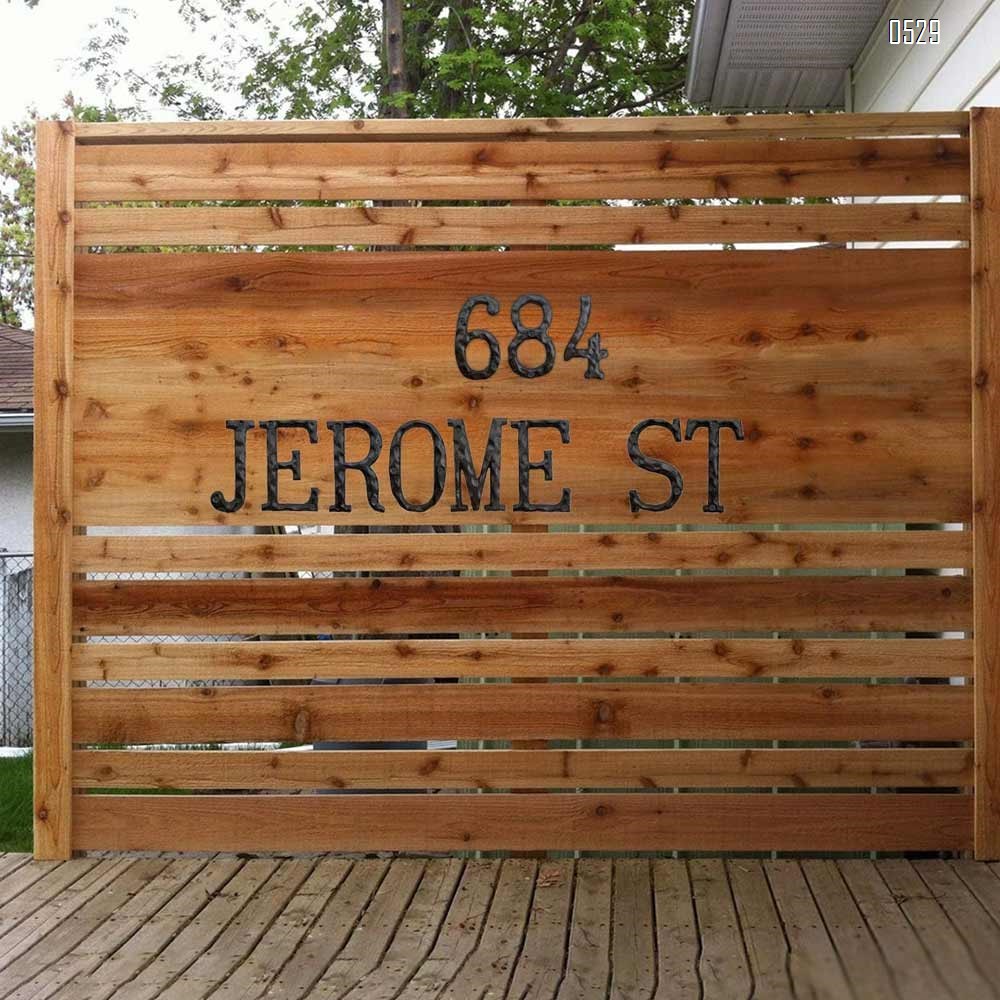
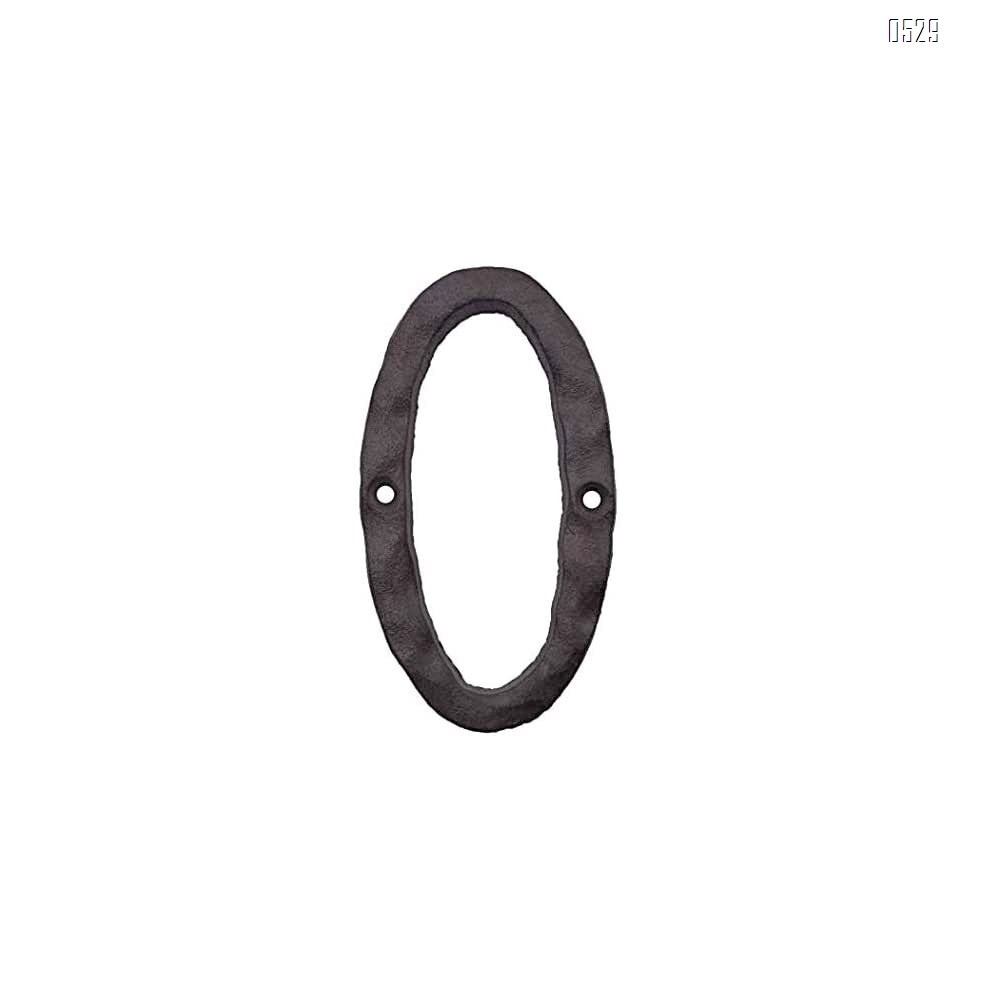
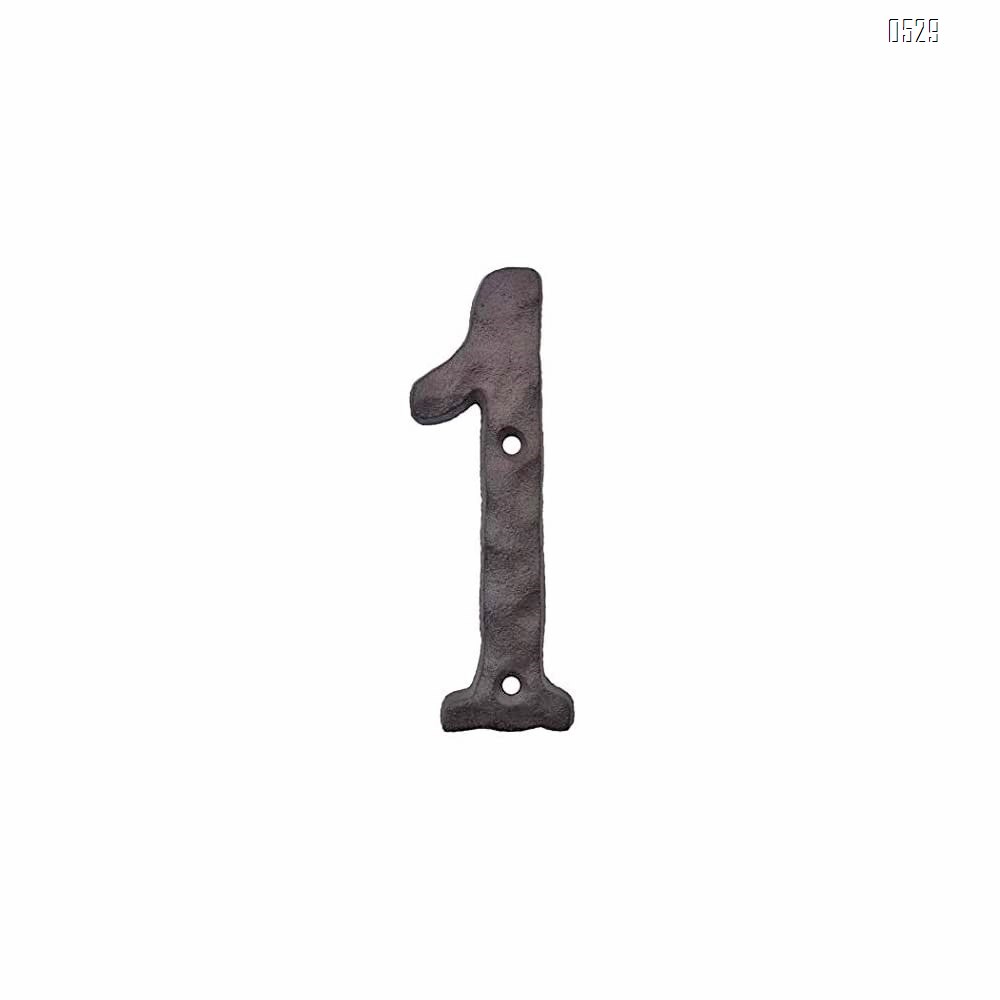
[Strong & Sturdy House Number/Letters ]- made of solid cast iron, numbers/letters are heavy duty and will?build to last for years to come
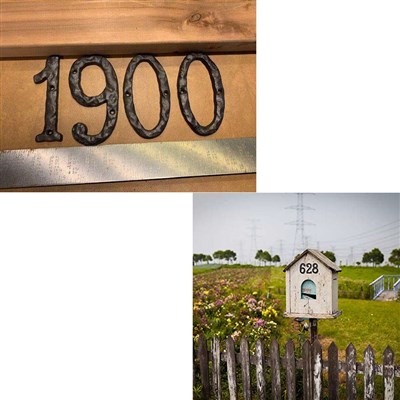
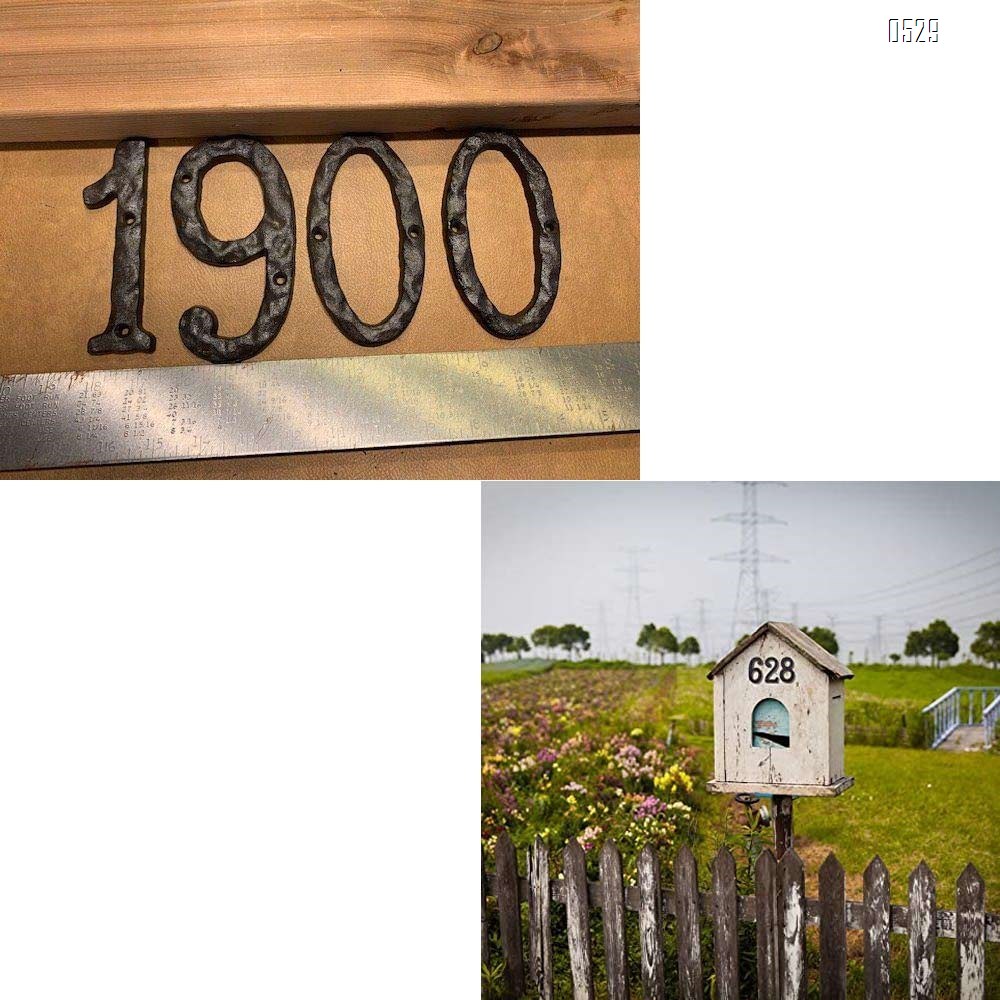
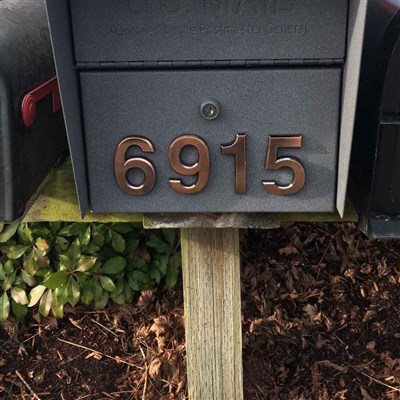
[Easy Installation Mailbox Numbers/Letters]-matching screws included to make numbers nail on fence, mailbox,outdoor, indoor, wood, brick or cement wall in a matter of minutes
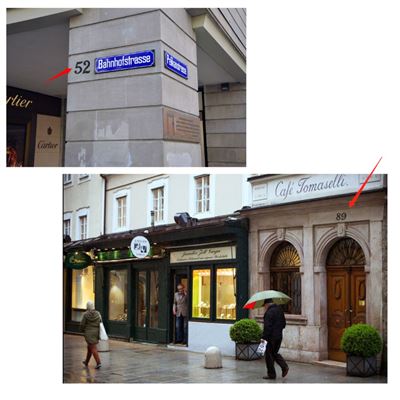
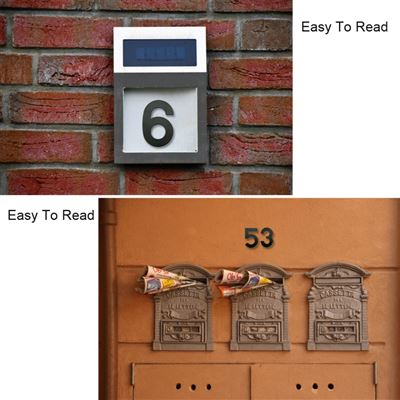
[Visible & Eye-catching]- 3 inch high made numbers/letters easily be seen from the street, 0.19 inch thick for durability, no more numbers break
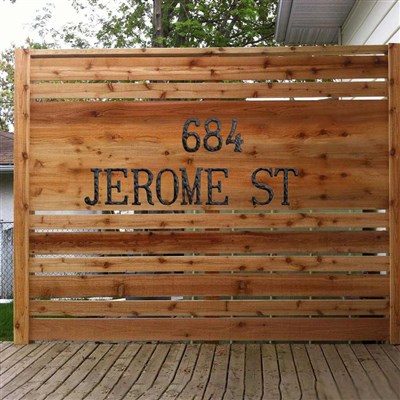
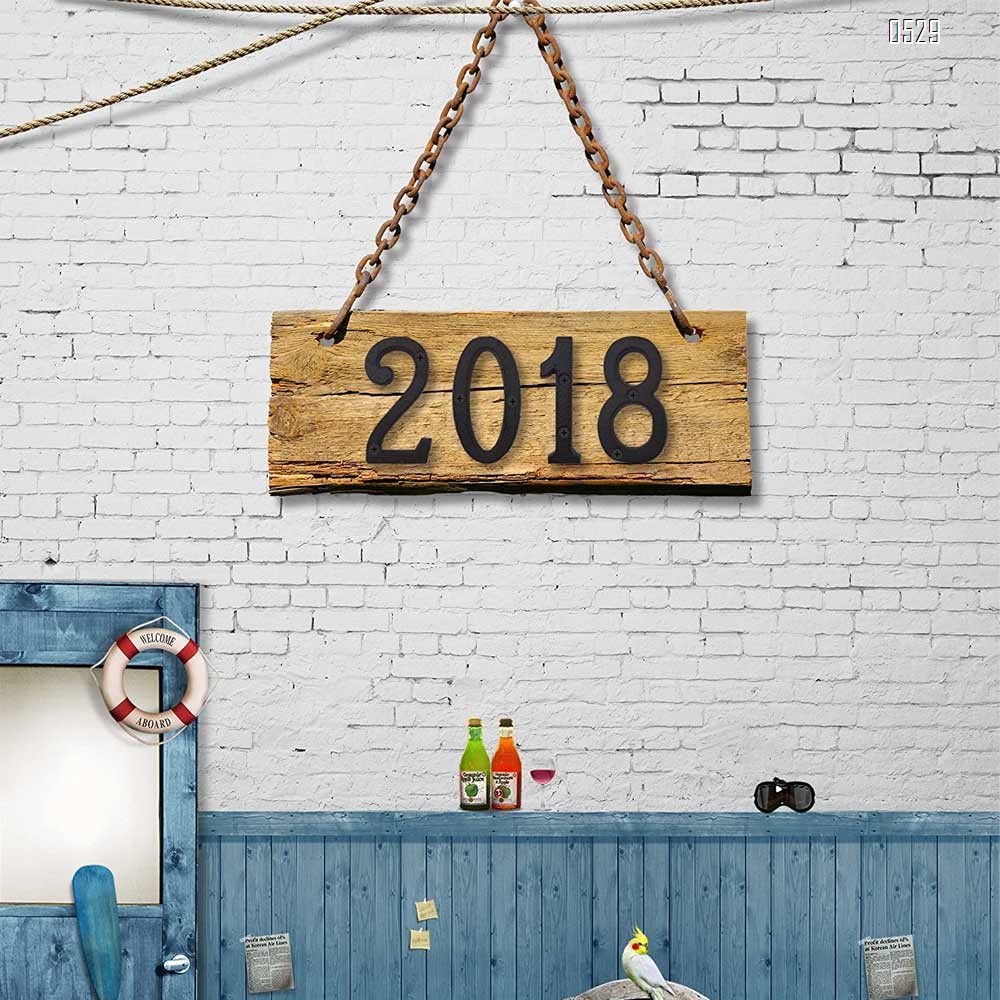
[Unique Antique Design] -rustic, old-country finish combined with new modern simple design element made numbers suitable for home, office, coffee,bar, business stores, garden sign etc
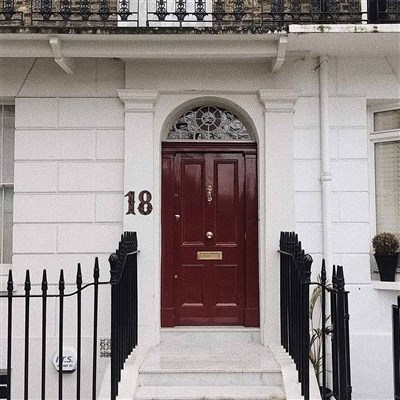
[Distinctive & Attractive]- these individual door numbers/letters surely to make your exterior or interior house address/ garden mail box numbers unique and standing out
Top review
Bob L.April 28, 2023
Excellent adhesion and reflectiveness. Easy to install as well. Look great on the mailbox.
BeesformeApril 03, 2023
Good. however wish it had more duplicate numbers.
Kenneth KellerMarch 09, 2023
These attractive, easy to read, 4" high, thick address numbers are made from quality brass that have been black powder-coated for long life and durability, but most importantly readability from a distance.
To install them just follow the instructions that come on the package with each number. You'll need is a pencil, straight edge (for layout and positioning of the pilot holes), and then a power drill and drill bit for drilling the 1 1/8" pilot holes for the number's mounting studs (two per number).
Careful planning of the numbers' final position layout will save you any missteps along the way. To finish up the install, use a rubber-head mallet/hammer to firmly tap them into the surface (in my case wide cedar wood trim), securing the numbers. Stone or masonry surfaces will require using the included white vinyl mounting sleeves that will first have to be countersunk before the metal studs are firmly tapped in place.
I installed 5 address numbers in the more difficult vertical layout and final reading orientation. It took about an hour to do so at a leisurely pace from beginning to end. I carefully determining the stud mounting hole positions in advance before the pilot holes were drilled. NOTE: Making a paper drilling template in advance, showing all those positions, will speed the numbers installation.
JAGFebruary 12, 2023
Nice! I give it a one
Roy I.January 18, 2023
Everything was just right,Awesome!!!!
BergDecember 24, 2022
Look great on mailbox!
City of DelphosNovember 29, 2022
Does what I wanted to do.
CustomerNovember 04, 2022
Top quality and prettier than my gal.
Aaron H.October 10, 2022
Awesome and is exactly what I was looking for
Ryan MSeptember 15, 2022
They look great BUT the edges curl once outside for a day or two.
